

Enemies and Bosses / Boss - Slavering Glutton
Daidara Boss
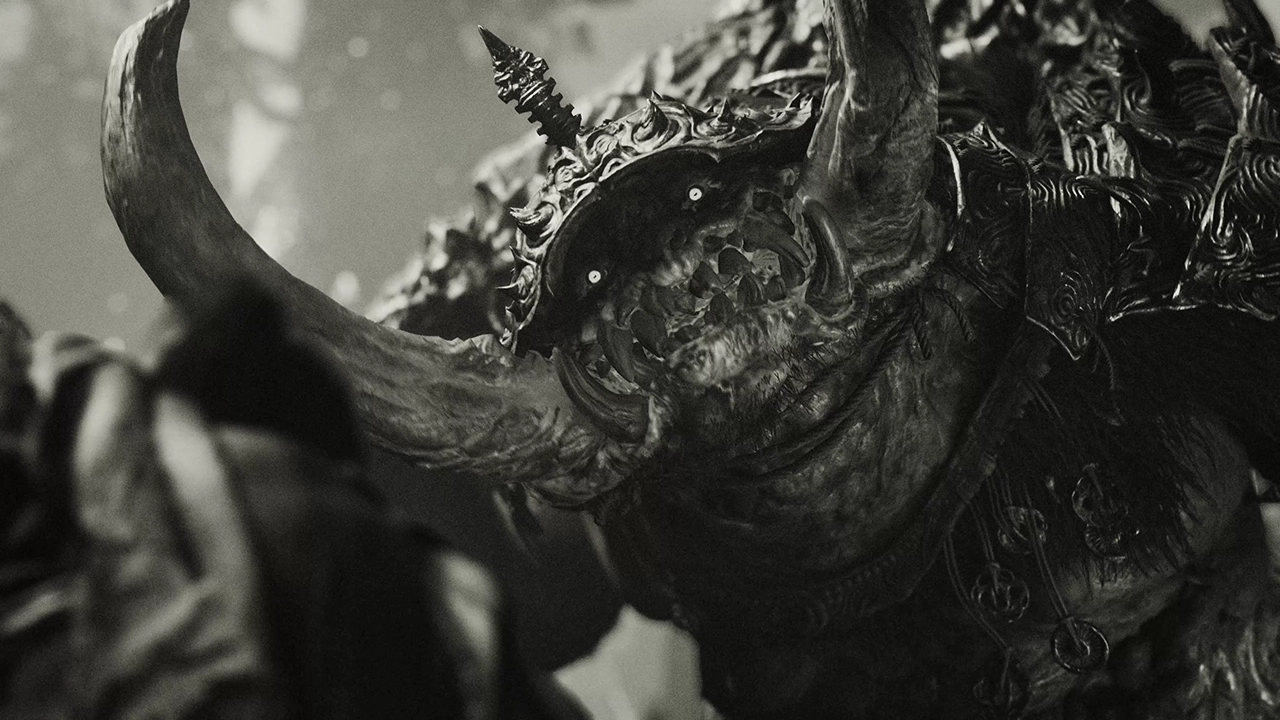
An endlessly greedy Genma that defiled Kiyomizu-dera Temple with corrupting clouds of Malice. Though it may talk as if all it cares about is food, underestimate its appetite for combat at your peril. Its sheer physical size makes it extremely dangerous up close, and if you are unable to deal with the blunt force trauma it dishes out in spades, you'll soon find yourself struggling. However, it's far from a fast mover, so with a little focus, you should be able to catch most of its blows on your blade.
- Health
- 6,000
- Maximum posture
- 5,000
- Posture regen delay
- 5 sec
- Posture break duration
- 12 sec
- Knockdown duration
- 10 sec
- Parry target speed
- 0.5x
Reference tables
5 tables
Battle priorities
Moves and counters
Attack patterns and practical responses for recognizing the enemy's punish windows.
| Move | Pattern | Counter |
|---|---|---|
| Rush | Charges forward and can continue the run into a wall reaction. | Move off-line and avoid chasing until the rush fully stops. |
| Jump attack | Consumes a body and lands with a heavy strike. | Clear the landing zone, then punish recovery. |
| One-hand slam | Brings the club down in a committed heavy attack. | Wait for the impact and answer from the side. |
| Rush parry follow-up | Has a dedicated response after its rush is parried. | Do not mash after the parry; read the follow-up first. |
| Soul absorption | Absorbs loose souls before entering a stronger state. | Collect the souls first to prevent the power-up. |
Guaranteed drops
Guaranteed item drops recorded for this enemy.
| Item | Amount | Chance |
|---|---|---|
| Genma Note: Daidara | 1 | 100% |
Where to fight
Missions whose objectives explicitly name this fight. Step numbers refer to each mission's checklist.
| Mission | Step | Fight objective | Previous objective |
|---|---|---|---|
| The Stage is Set at Kiyomizu | 16 | Defeat Daidara | Head after the giant Genma |
| The Way of the Sword | 2 | Defeat Daidara | Head for the top layer |
Difficulty scaling range
Minimum and maximum multipliers across story checkpoints. Effective values apply those multipliers to this enemy's base health and posture.
| Difficulty | Health multiplier | Effective health | Posture multiplier | Effective posture | Attack multiplier |
|---|---|---|---|---|---|
| Easy | 0.63-1.69x | 3,780-10,140 | 0.55-1.49x | 2,750-7,450 | 0.59-1.43x |
| Standard | 0.72-1.9x | 4,320-11,400 | 0.72-1.9x | 3,600-9,500 | 0.72-1.9x |
| Hard | 1.44-3.2x | 8,640-19,200 | 1.44-3.2x | 7,200-16,000 | 1.44-3.7x |
Lore
A fight over loose souls
Daidara swings an enormous club and consumes souls left on the battlefield before Musashi can absorb them.
Absorb loose souls before Daidara reaches them, especially after clearing smaller Genma. Its health, posture, regeneration, and break values are listed in the fact table above.
SourcesCapcom interview and expanded demo updateCapcom final preview